IT-новости
iOS и Android
Интернет
Компьютеры
Софт и игры
Разное
Search
Интернет
Пустой символ – ( ㅤ) копировать невидимый символ
0
Share on
Софт и игры
Backpack Battles новый инди-хит в жанре PvP автобаттлеров
0
Share on
Софт и игры
No Rest for the Wicked новый экшн-RPG от разработчиков Ori
0
Share on
Софт и игры
Palworld от студии Pocketpair удивляет, продажи новых покемонов бьют все рекорды
0
Share on
Софт и игры
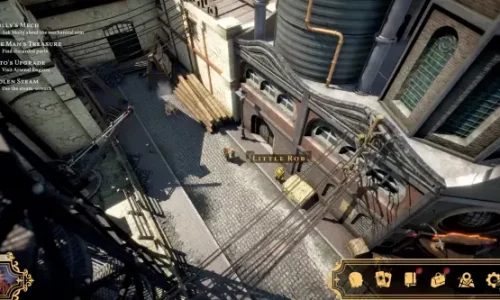
Sovereign Syndicate – викторианская стимпанк-RPG с магией и картами Таро
0
Share on
Софт и игры
Свежие рабочие коды Роблокс 2023 декабрь
0
Share on
Интернет
Ad Speedup ускоряет рекламу в YouTube – экономьте время на просмотр
0
Share on
Разное
Криптовалютная биржа MEXC: преимущества и недостатки
0
Share on
Софт и игры
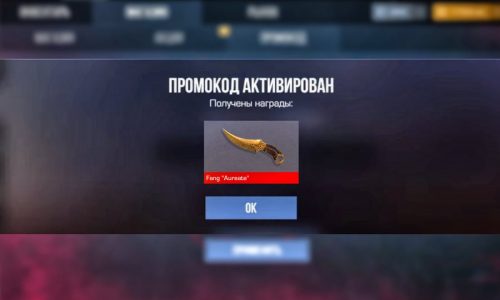
Рабочие промокоды в Standoff 2 от разработчиков
0
Share on
Интернет
Скачать видео с ютуб. Как скачать видео с YouTube на компьютер или телефон за несколько шагов бесплатно!
0
Share on
Разное
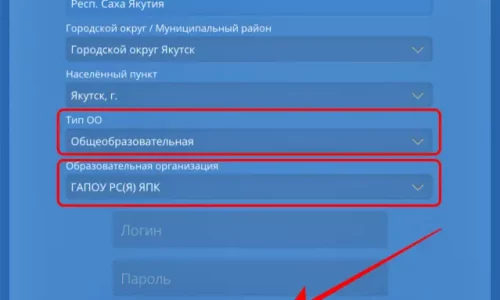
Сетевой город вход. Электронный журнал Сетевой город
1
Share on
Интернет
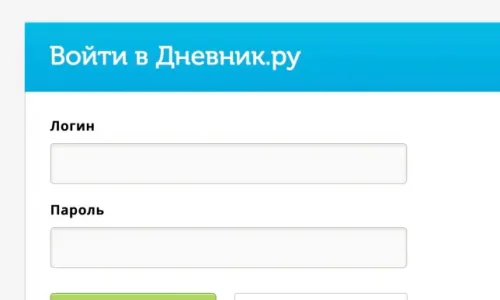
Электронный дневник школьника Дневник ру
0
Share on
Разное
Дальневосточная ипотека 2023 условия
0
Share on
Разное
Какие документы менять после свадьбы
0
Share on
Интернет
Впечатления от Threads — очередного убийцы Twitter
0
Share on
Разное
Как создать американский апл айди (Apple ID) без номера телефона
0
Share on
Интернет
Первый ОФД факты о чеках — что содержится, проверка чека
0
Share on
Разное
Прибыло в сортировочный центр службы доставки. Местонахождение посылки: главное, что нужно знать
0
Share on
Разное
Аппарат вызываемого абонента занят ваш звонок был переадресован
0
Share on
Разное
Списать ЕГЭ в 2023?
0
Share on
Интернет
Где находится сортировочный центр Давыдково 108971, 108982, 108960. Телефон и контакты
13
Share on
Разное
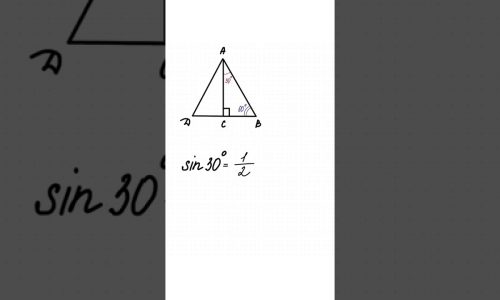
Синус 30. Решение как вычислять синус числа
0
Share on
Разное
Вкк Вк прошлое и настоящее. Как социальная сеть остается главным источником воспоминаний и контактов
0
Share on
Софт и игры
Вышел новый OUTLAST 3 — The Outlast Trials. Игра, которая заставит вас погрузиться в ужасы
0
Share on
Навигация по записям
1
2
…
29
Next »